Welcome to PiSignage!
PiSignage is a digital Signage platform that helps transform your screens into a powerful digital Signage network!
For the past decade, we’ve helped people just like you, seamlessly manage and control their screens. PiSIgnage is Reliable, Affordable, Powerful and the right solution for you.
pisignage.com/get-started is a great guide if you are looking to just setup and begin using the platform.

An overview of the platform
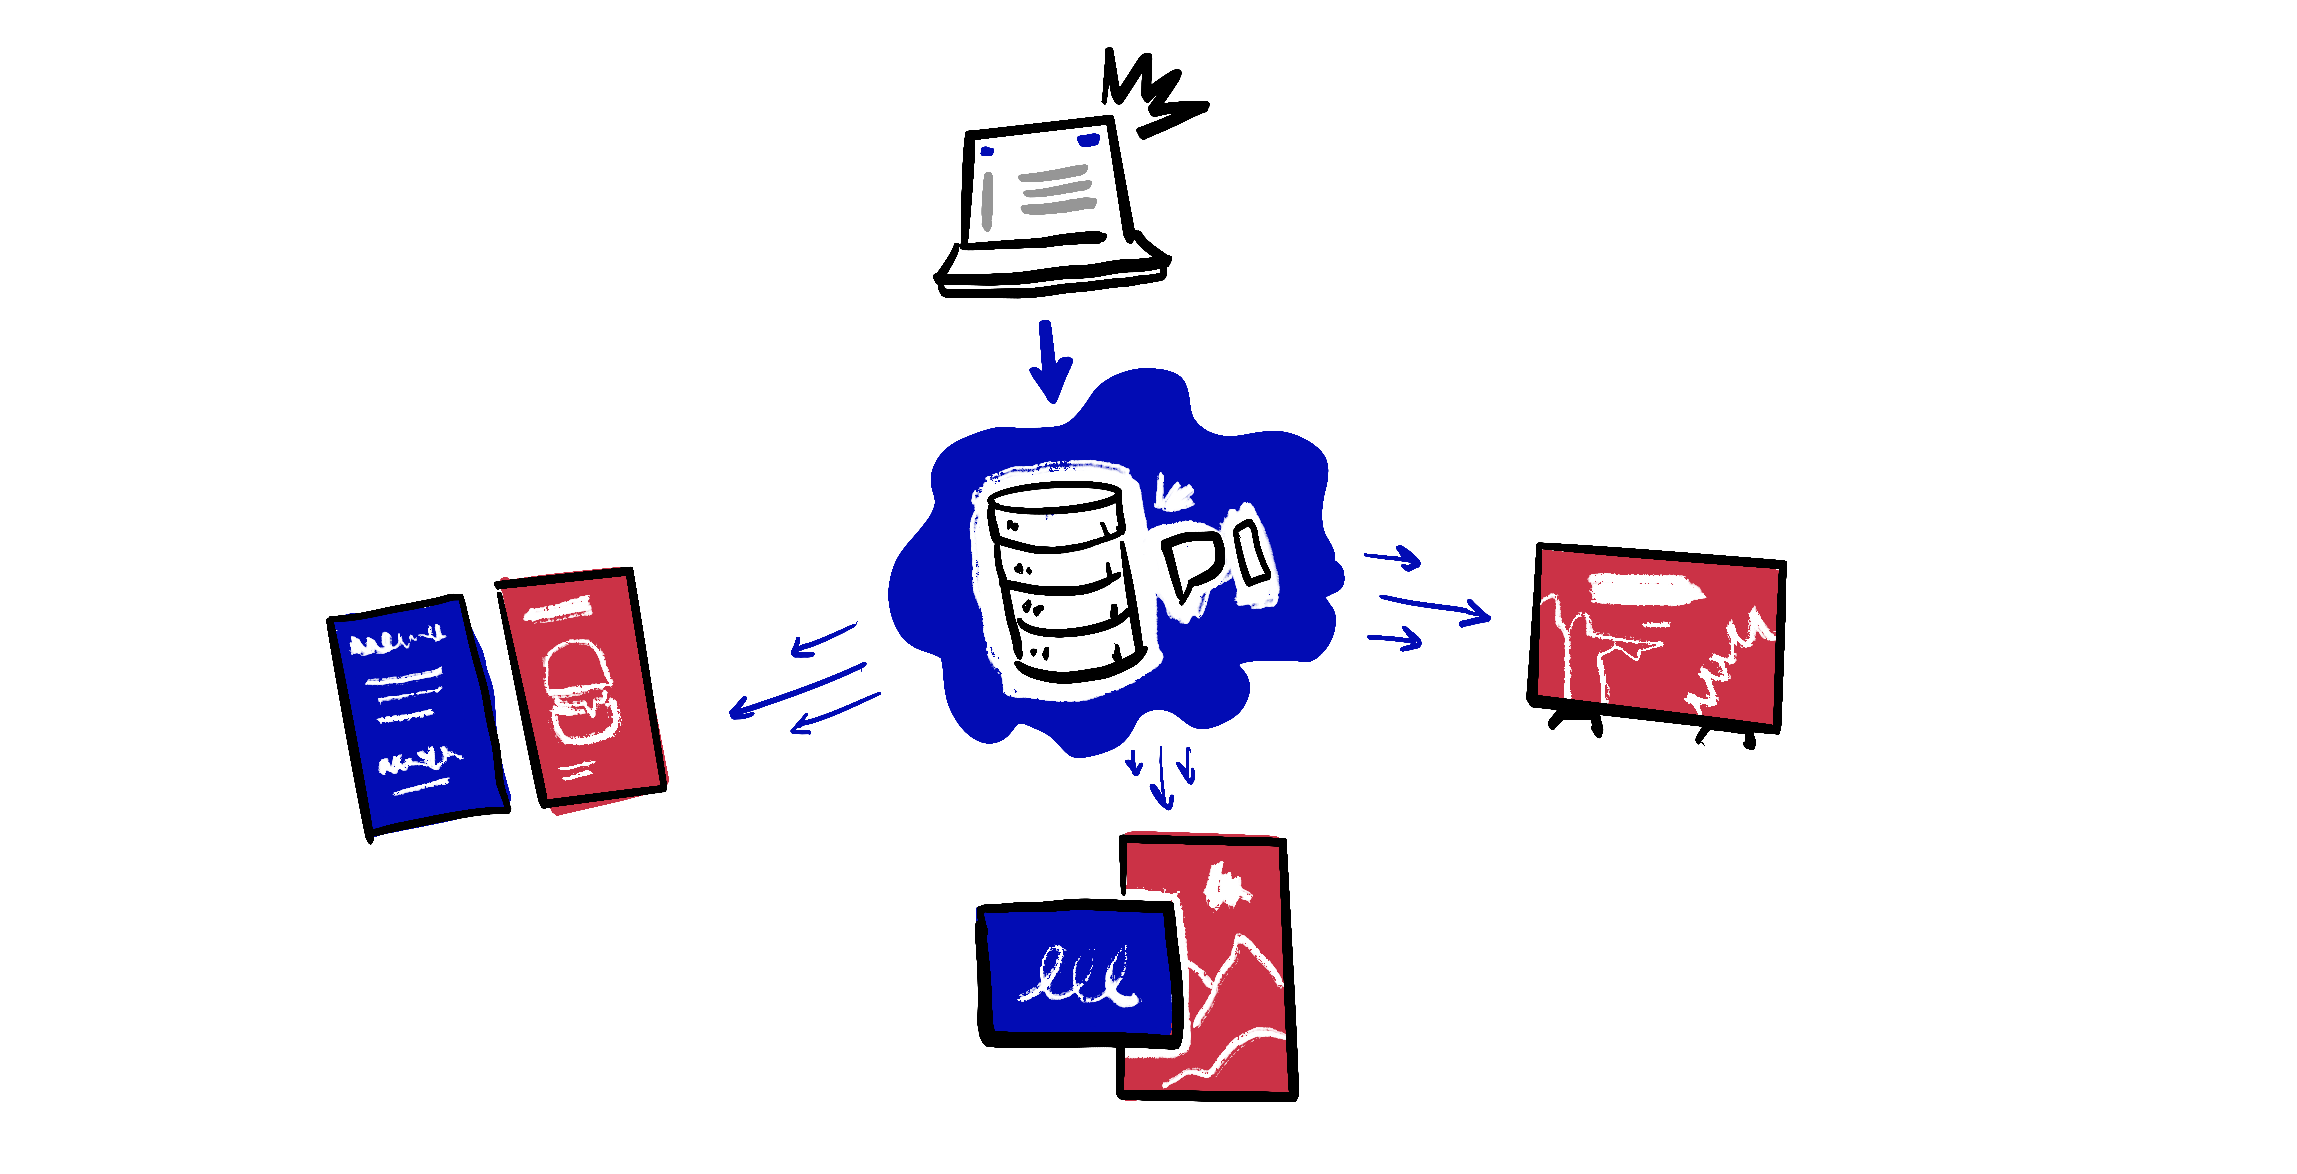
What is PiSignage? PiSignage runs a central server which is where you login to manage your screens. Your screens connect to the server periodically and when there’s new content or changes in your content schedule it downloads the changes and continues to play.
We do have a Video overview here 👇🏽
This video walks you through navigating the PiSignage platform, uploading your first content, and deploying it to your screens.
Your content plays even when offline
What happens if my player disconnects from the internet or goes offline? Well nothing to worry about - it continues to play all downloaded assets as if nothing happened and the minute its back online it downloads any new changes you may have pushed
Data storage
How secure is my data? All of your data is stored securely using Amazon web services. We have servers across the US, Europe and Australia to help you store your data where you’d like
Self hosted solutions
Can I host the server on my end? You can host the server using our self hosted solution. Simply follow the instructions below and you will be good to go
Read our server config recommendations in pisignage.com/docs/
Download our Docker Image at pisignage.com/downloads
Connect your players
Player
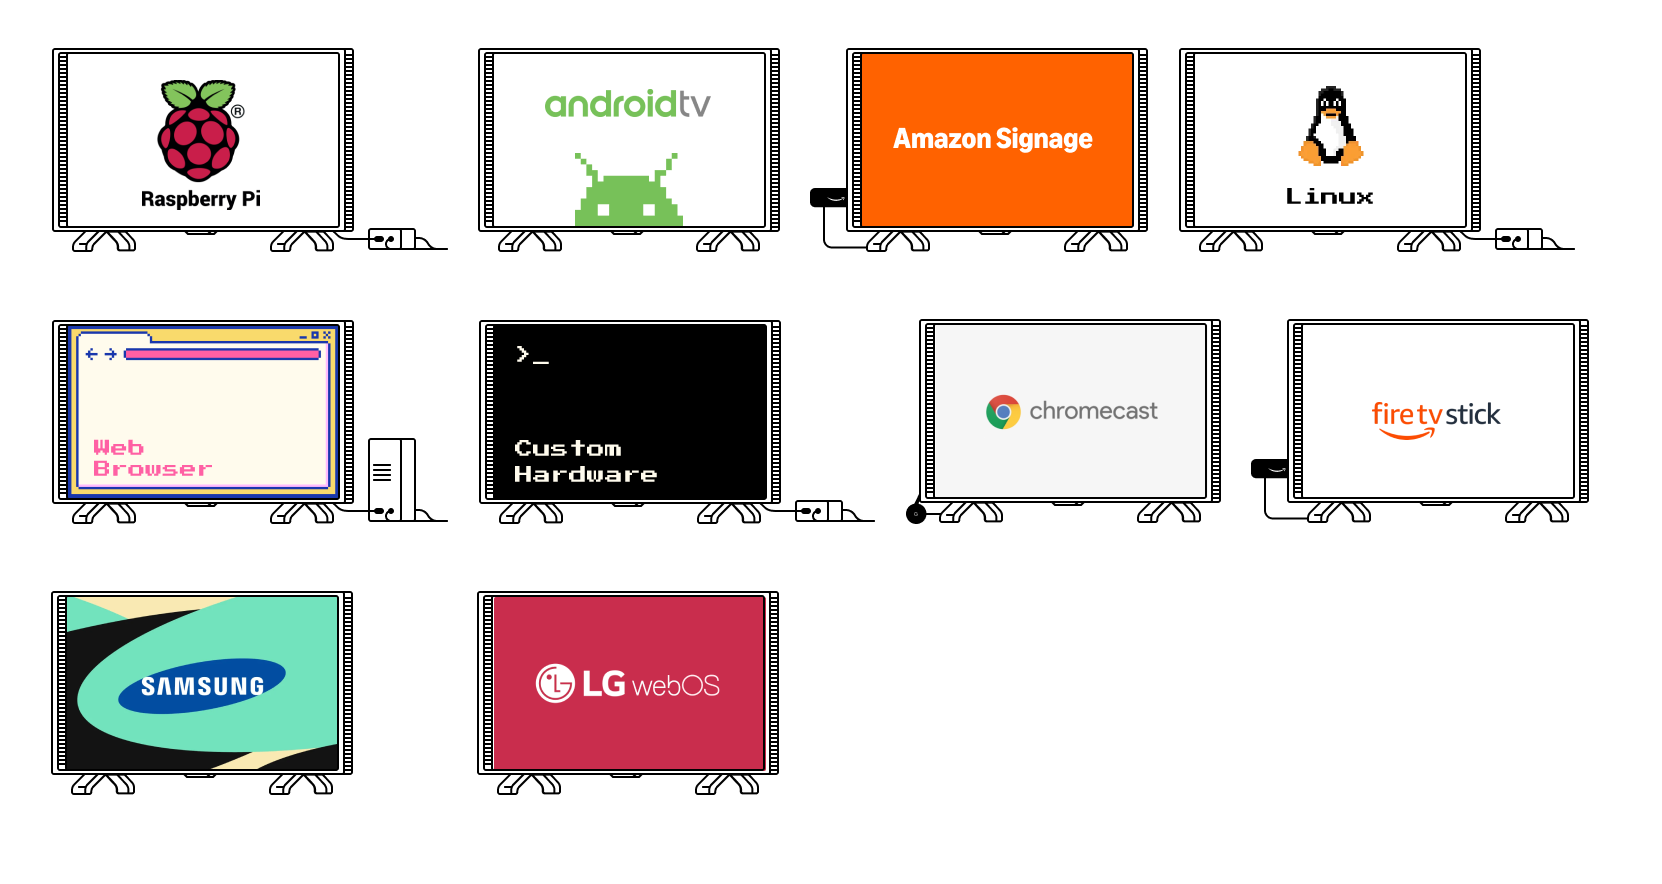
Choose the right setup for yourself. Pisignage.com/hardware covers all of the options available to you.
A few considerations you should think about as you choose your first player are
What is the available infrastructure in your space? Do you have a single plug point or multiple (While our android player works within the TV, adding a Raspberry pi version may need another plugpoint for the raspberry Pi)?
- Are you pre-construction or post-construction?
What is your budget?
What type of content do you plan to play? (While images and videos play everywhere, more complex content like kiosks or webpages may need more powerful hardware)
If you need help receiving a bundled solution where the hardware comes with PiSignage included do consider looking at one of our trusted partners in your area at pisignage.com/partners
Software
For the player
Setting up a player is easy and quick.
For our Android TV and Amazon Signage Stick you simply have to download the appropriate app.
For our PWA or on the Web visit pisignage.com/player2 on the browser of your choice.
For the Raspberry Pi you would need to prepare a SD card which takes only a few minutes.
You can find complete guides for all of the above here
Self Hosted
Our self hosted server is available here via Docker.
Self Hosted contains all the information you need from the server needed to all details on how to set this up.
Whitelabel
White label options come built into your plan and we do not charge you any additional amount for the same. You will however need to have 100+ players on the managed plan and 300+ players in the self-hosted plan to unlock the same. White Label details out all the details on the same.
Support
Support at PiSignage comes directly from the team building the product and is available via support@pisignage.com . We typically reply under 24 hours.
In the mean time why don’t you ask an AI model of your choice by clicking on the button below.