Documentshow-to-design-a-custom-template
How to design a custom template
Use the Template Designer to build your own multi-zone layout.
Create a custom layout when the built-in layouts do not meet your needs. Template Designer covers the tool in more depth.
New interface
- Go to Add-ons → Template Designer and click Add New. Enter a template name and click Create. The template is saved as this file:
custom_layout_<name>.html
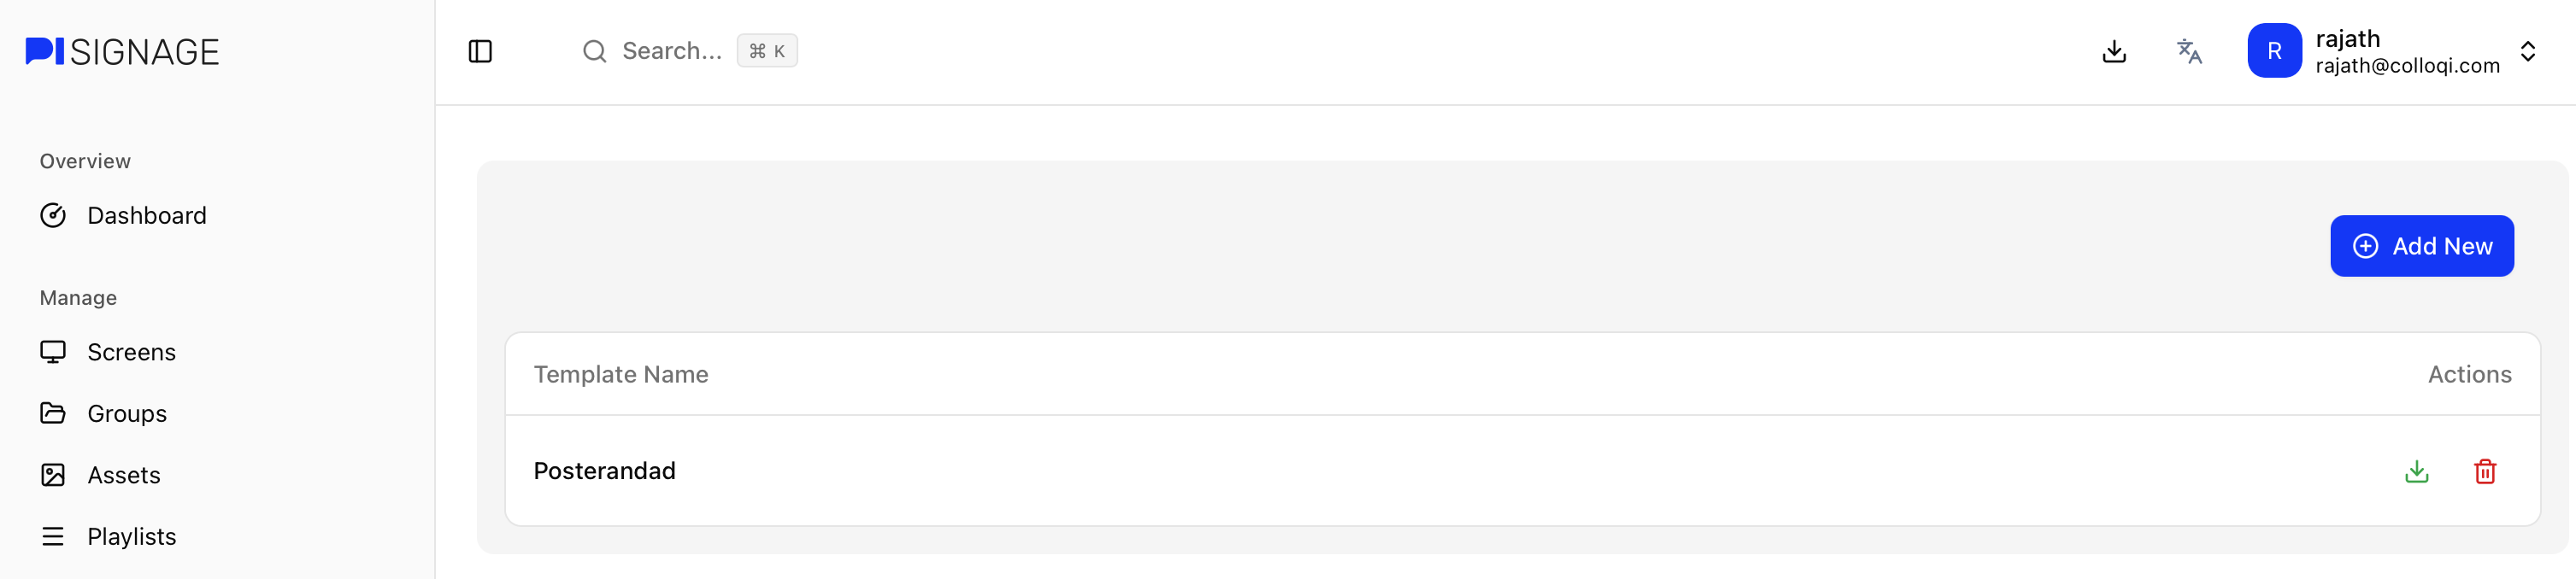
- Click the template in the list to open the designer.
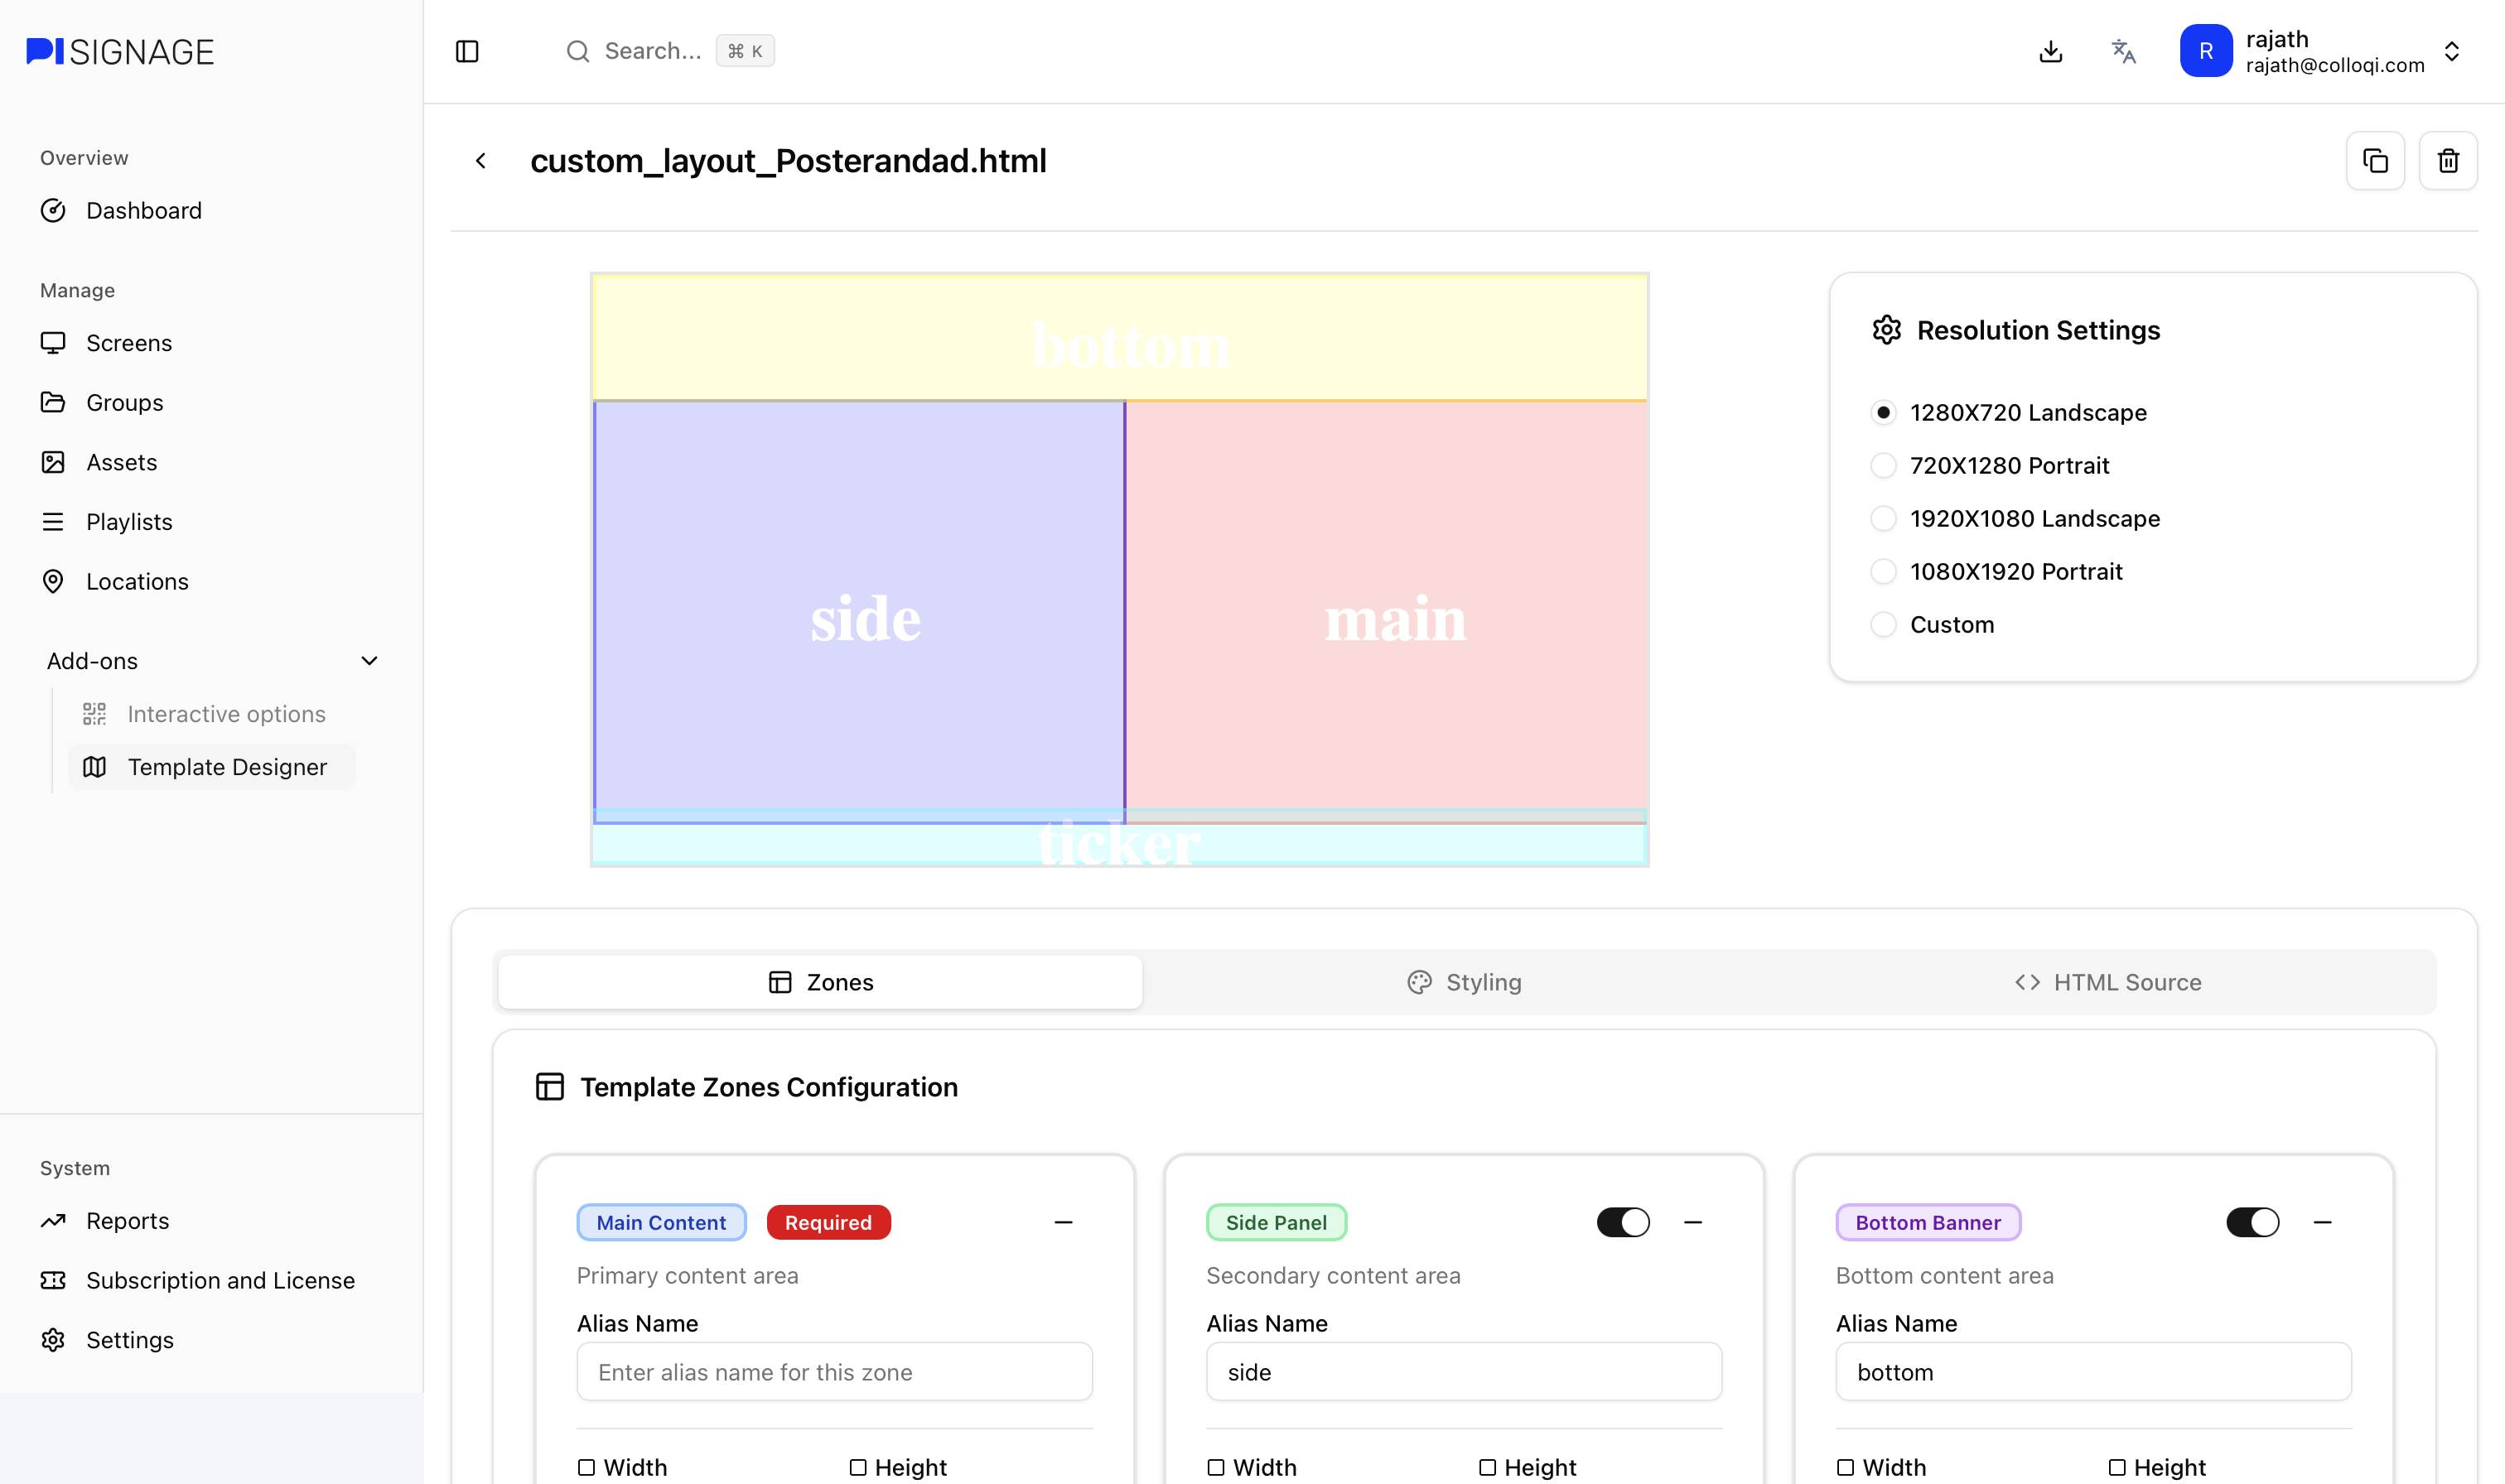
- Under Resolution Settings, choose a screen resolution or Custom.
- On the Zones tab, turn on the zones you need.
- Main Content is always on.
- Optional zones are Side Panel, Bottom Banner, Zone 4-6 and Marquee/Ticker.
- For each zone enter Width, Height, X Position and Y Position in pixels. 0,0 is the top-left corner.
- The preview updates as you type.
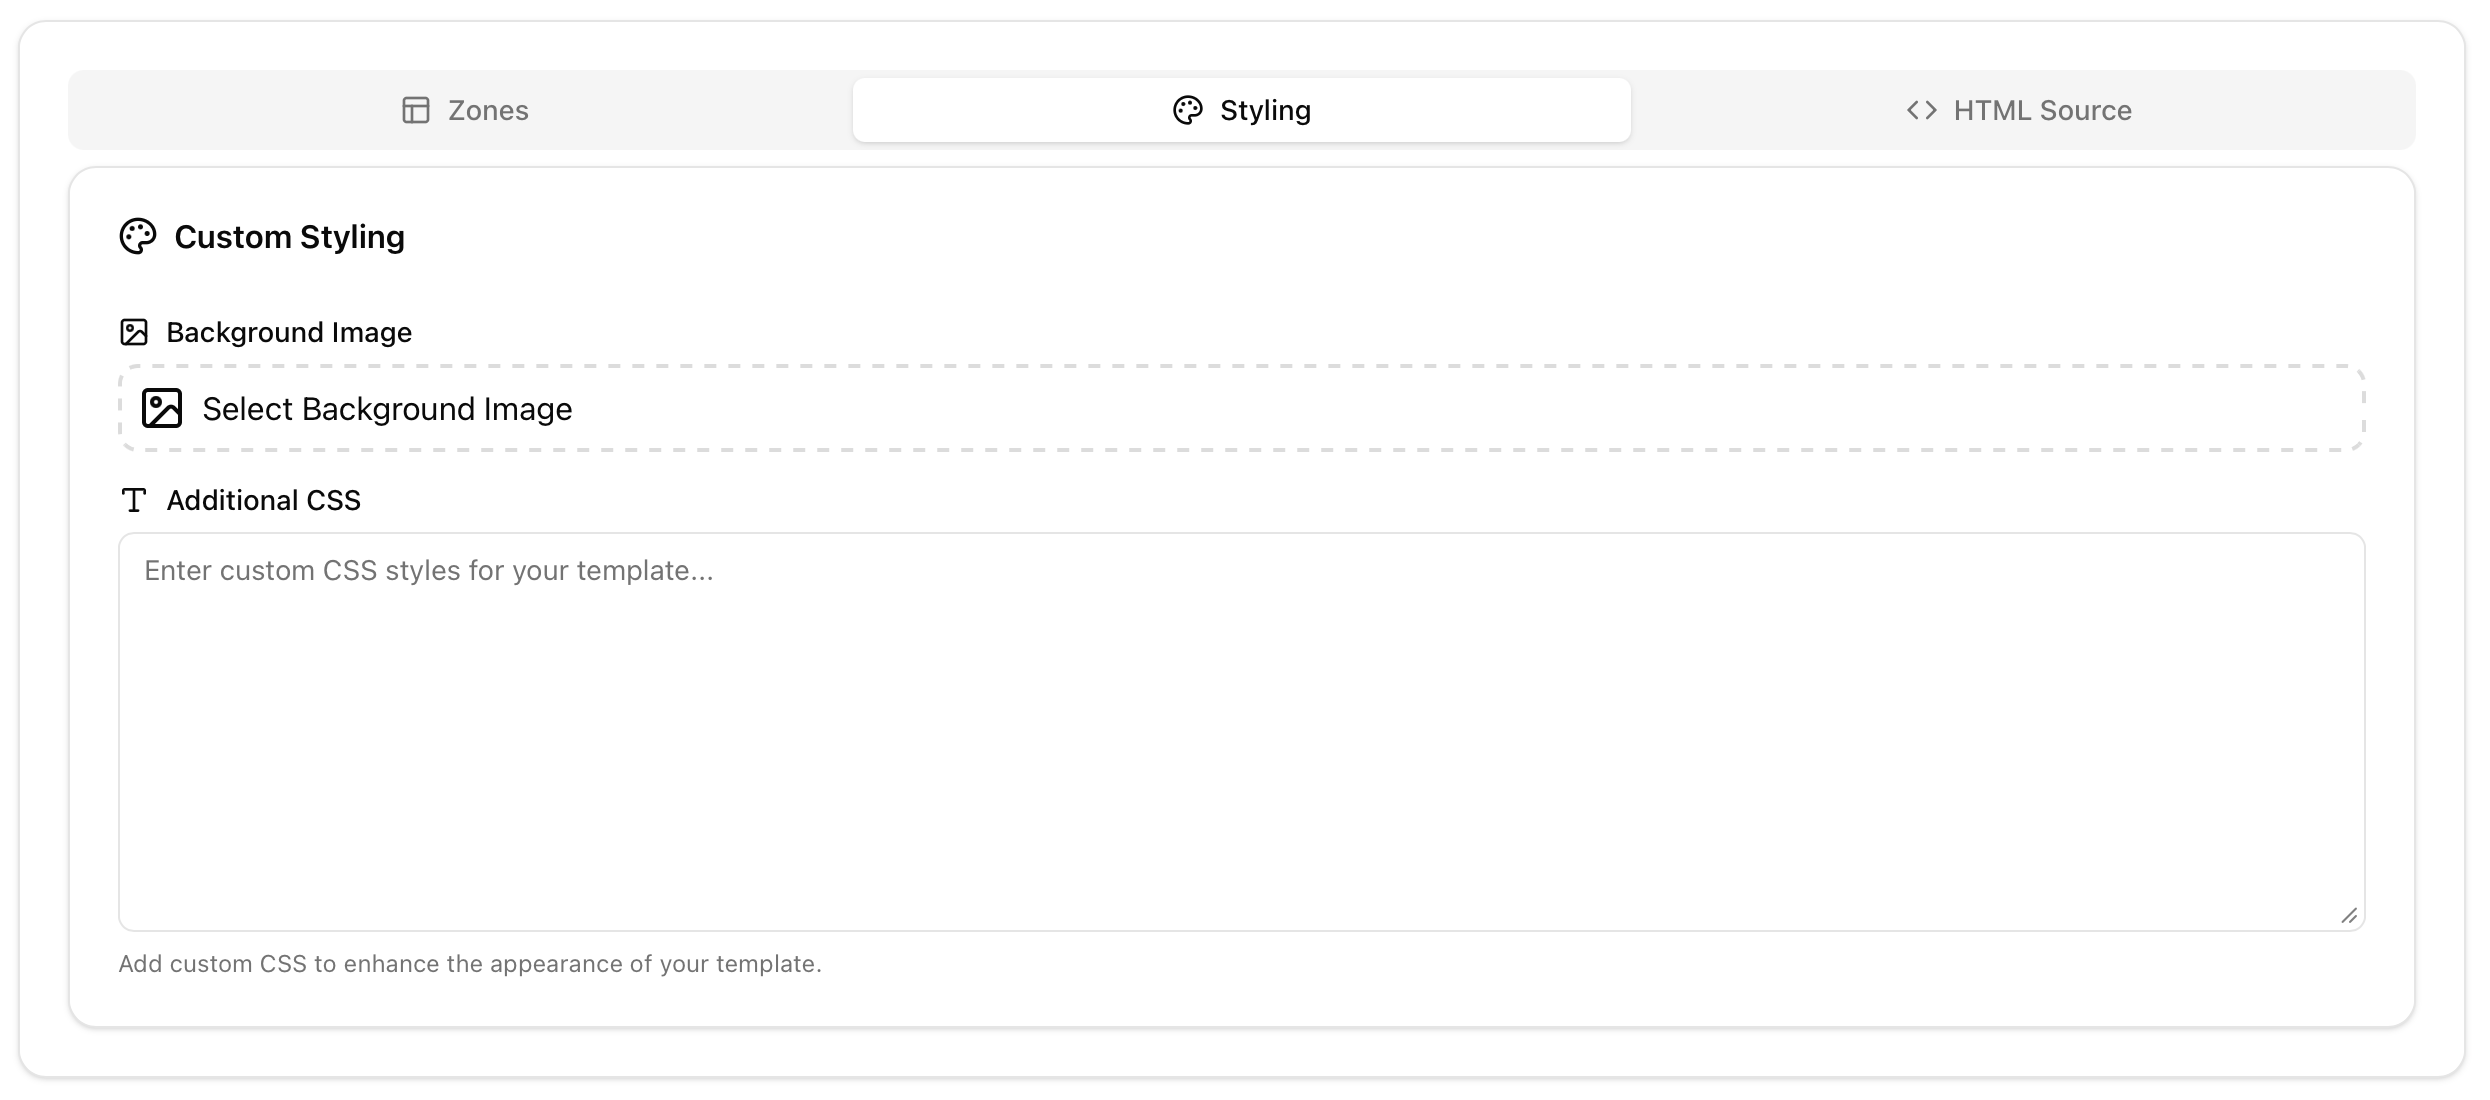
- Optionally, on the Styling tab choose a Background Image from your assets and add CSS. The HTML Source tab shows the generated HTML.
- Click Save Template.
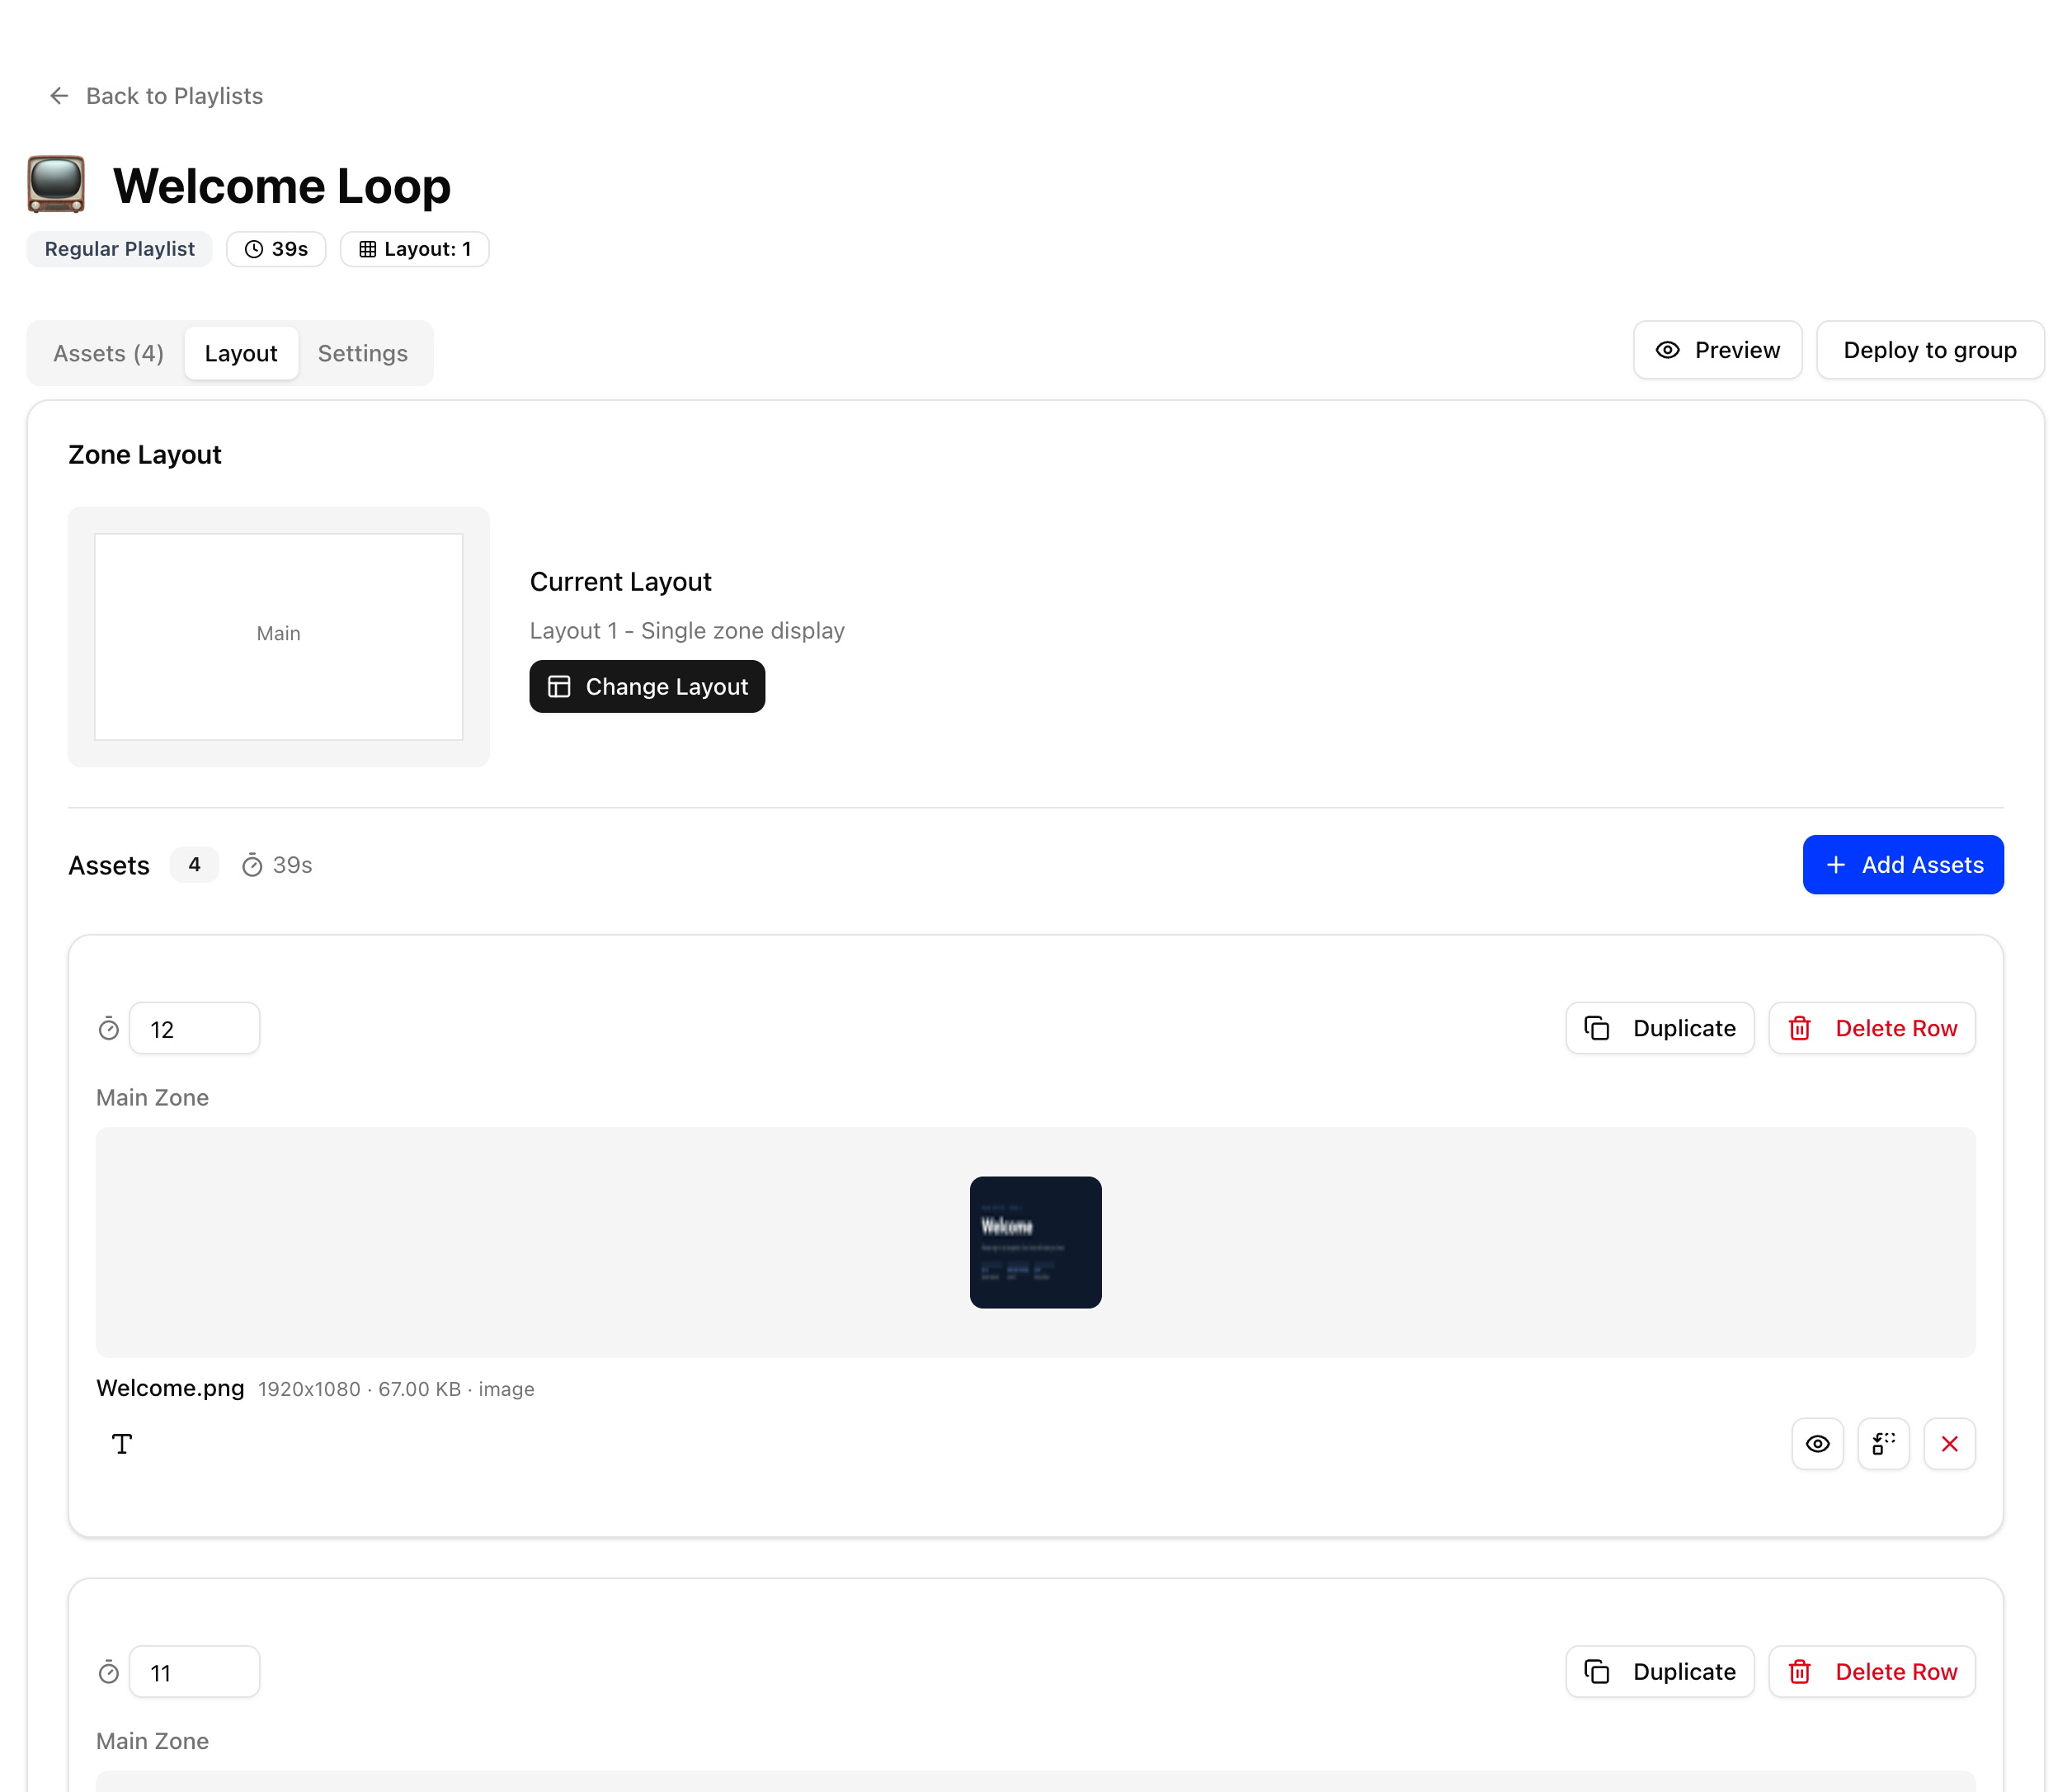
- To use it, open a playlist, go to the Layout tab, click Change Layout and select your template. Custom templates appear after the built-in layouts.
In the legacy UI
- Go to the templates page (pisignage.com/templates) and add a new custom template. The template design screen opens.
- Select the resolution.
- Enable the zones you need. The main zone is first and always enabled. Enable side and bottom if you need more than one zone. For more than three zones, enable zone4, zone5 and zone6.
- All zones use absolute positions. Choose each zone's position with 0,0 as the top-left origin (the CSS convention), then enter its width and height. Repeat for every enabled zone.
- For a background image, upload the image with Add Asset, then select it as the background image.
- Preview the layout and press Save. The template is saved to your assets folder.
- To copy an existing template, open it and rename the file using the file name control at the top left of the menu bar.